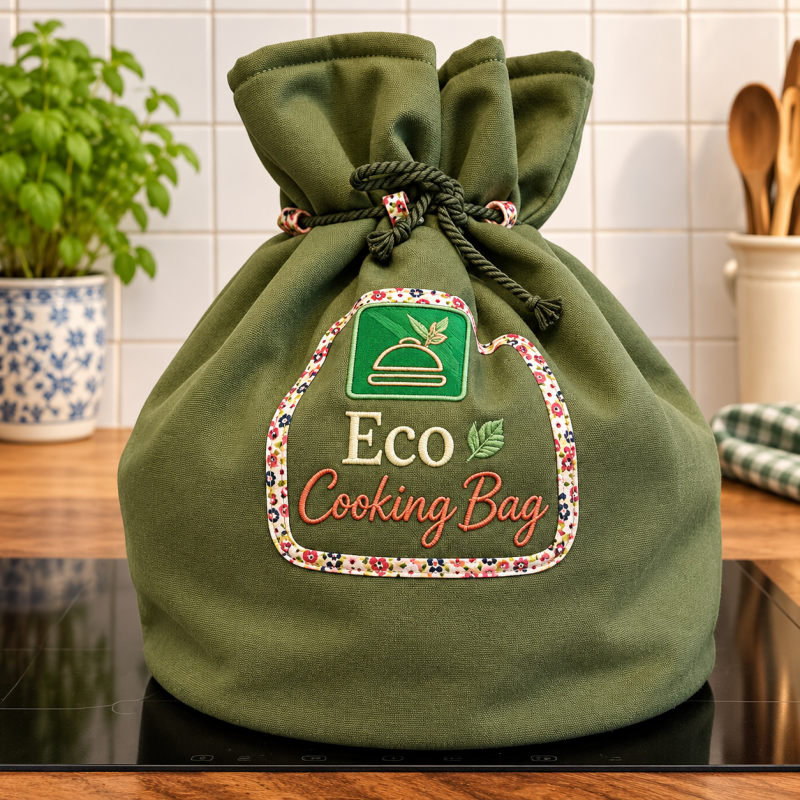
Slow cooking is becoming increasingly popular. But did you know that you can cook in a very energy-efficient way without keeping your stove on for hours?
A thermal cooking bag, sometimes called a haybox or an eco cooking bag, is a clever and traditional idea. You simply bring your food to the boil in a saucepan, place the hot pan inside the insulated bag and let the retained heat do the rest of the work.
The insulation keeps the pan warm for a long time, allowing your food to continue cooking slowly.
It saves gas or electricity, and it can also make certain dishes wonderfully tender and flavourful.
The best part? You can make one yourself!
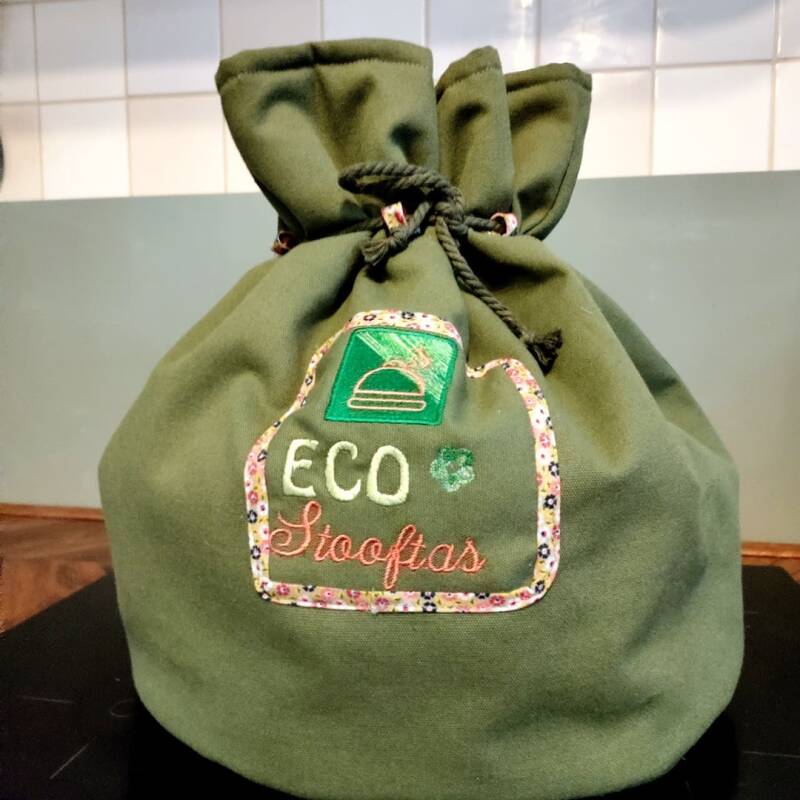
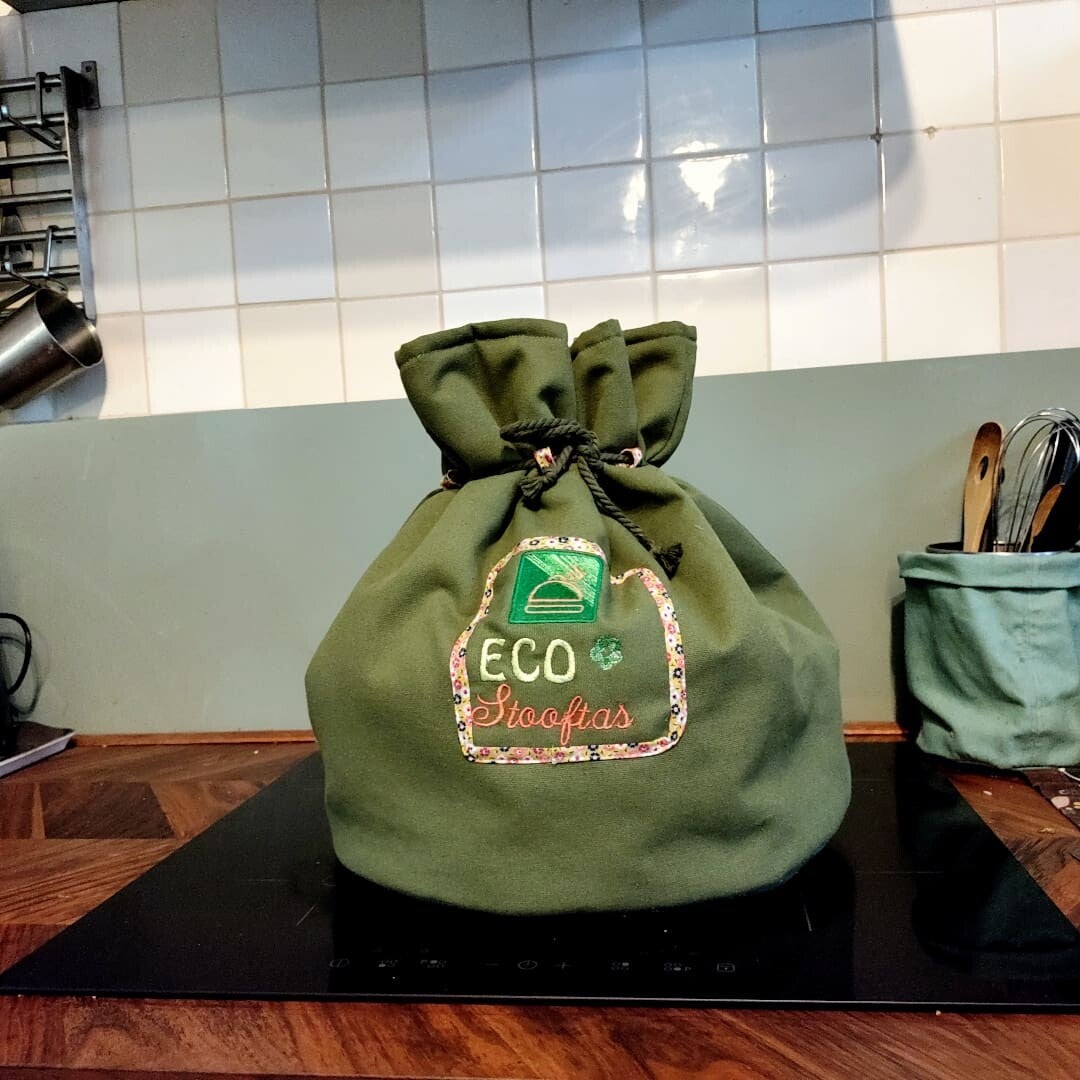
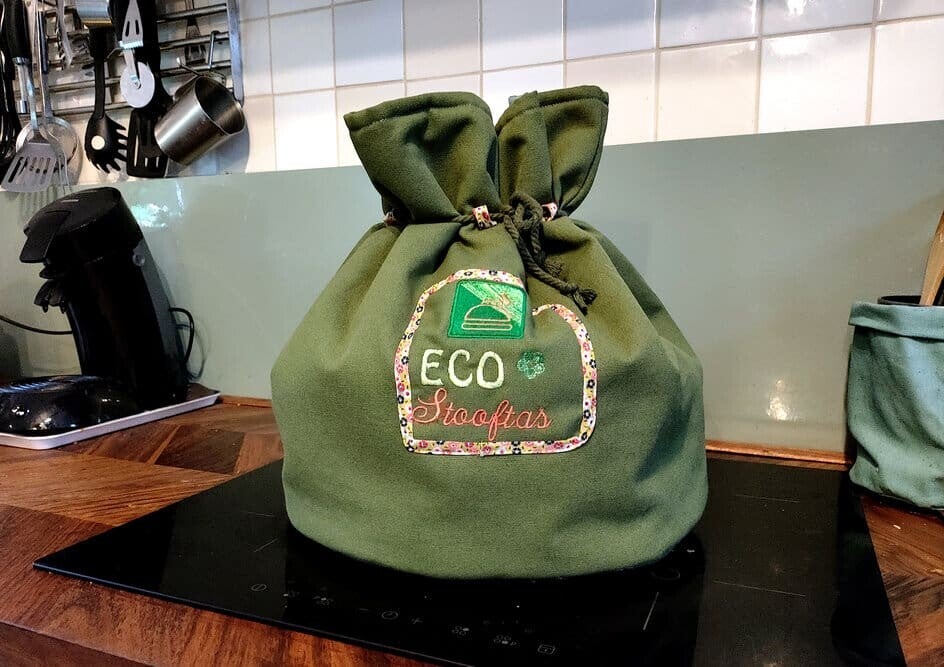
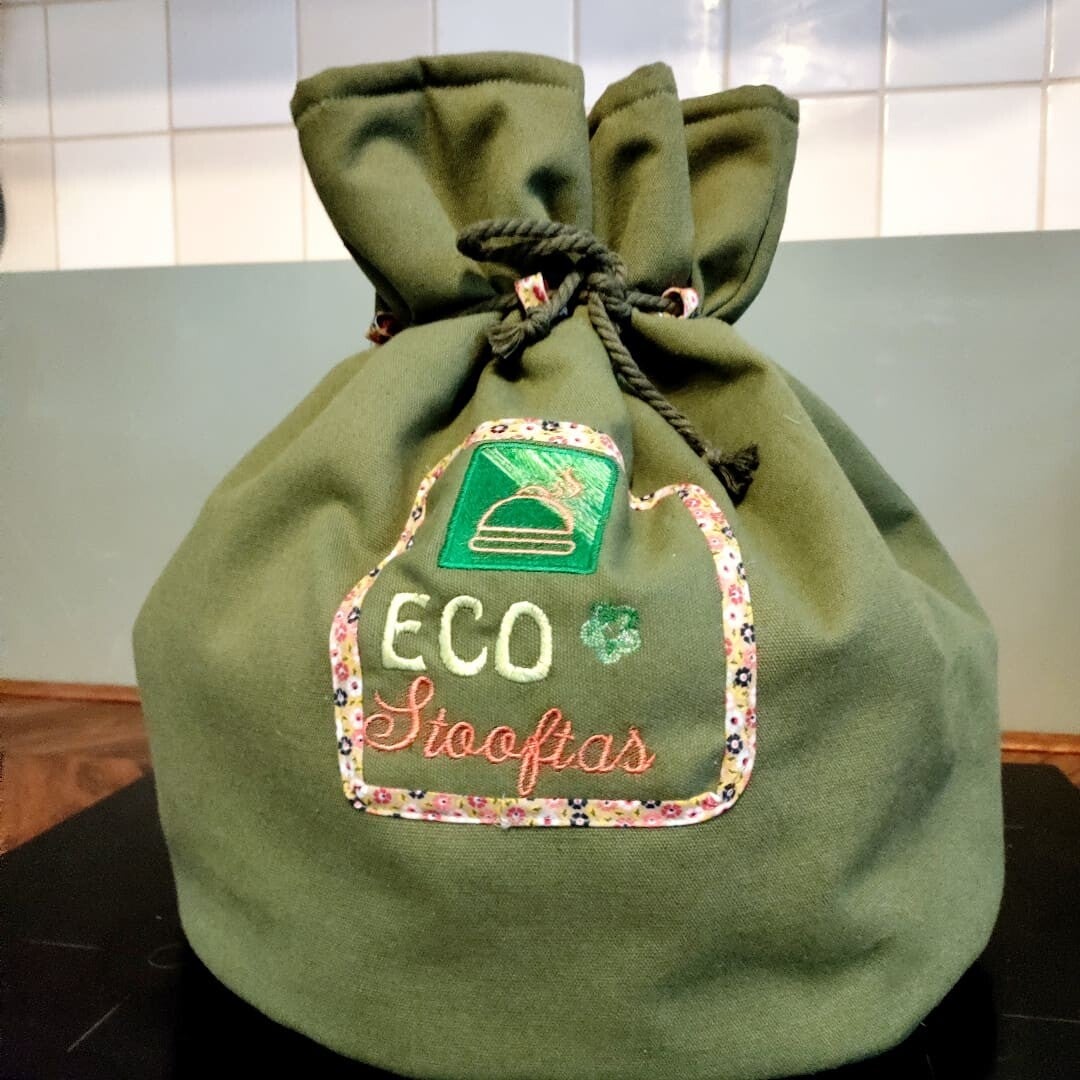
I call mine an Eco Cooking Bag. It sounds a little more elegant than a haybox, and it does exactly the same job. You don't need a wooden box filled with hay or an old-fashioned sleeping bag. A beautifully sewn fabric bag with proper insulation is all you need.
And no sewing pattern is required!
What do you need to make an Eco Cooking Bag?
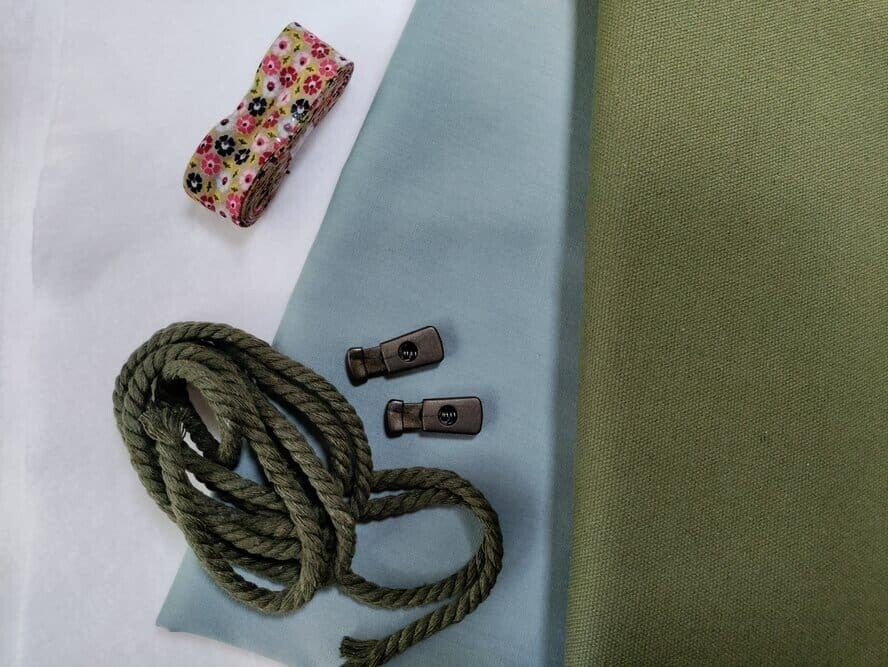
You will need a fairly strong cotton fabric for the outside and ordinary cotton fabric for the lining.
For insulation, use Thermolan or another suitable insulating batting.
Here is what you need:
-
1 metre of canvas or heavy cotton fabric
-
1 metre of cotton fabric for the lining
-
1.30 metres of Thermolan insulating batting
-
Bias binding
-
1 metre of cord
-
2 cord stoppers
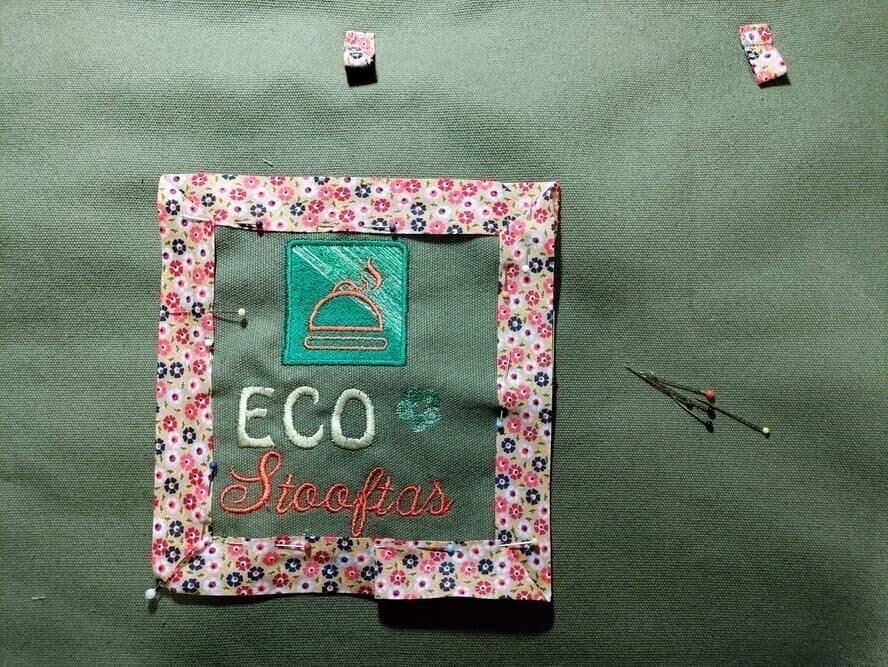
I decorated my own cooking bag with embroidery. This is optional, of course. You can also add a fabric appliqué, embroider something by hand or simply leave it plain.
A little personal detail can make an ordinary household item rather special.
Making your own sewing pattern
You don't need a commercial sewing pattern for this project.
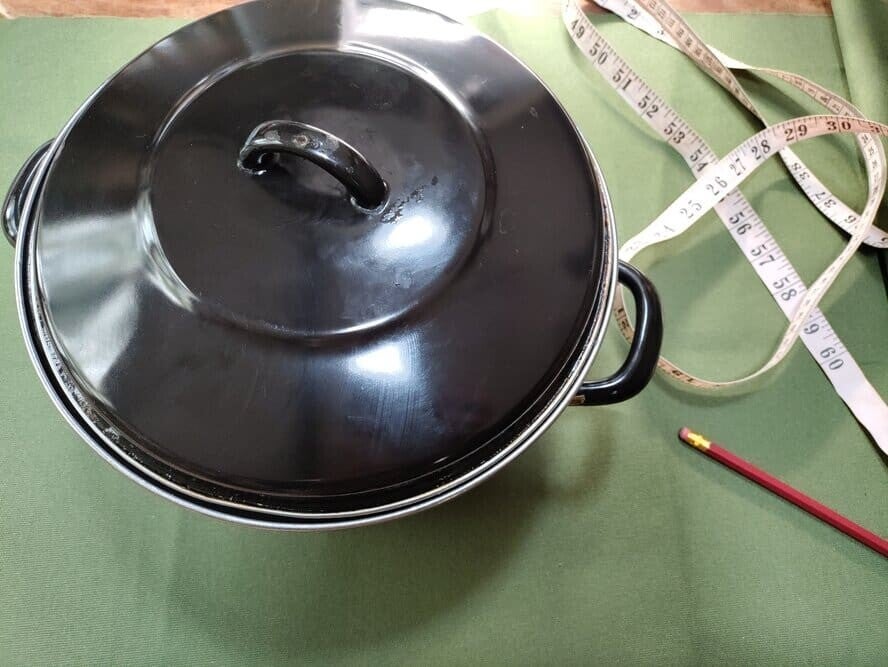
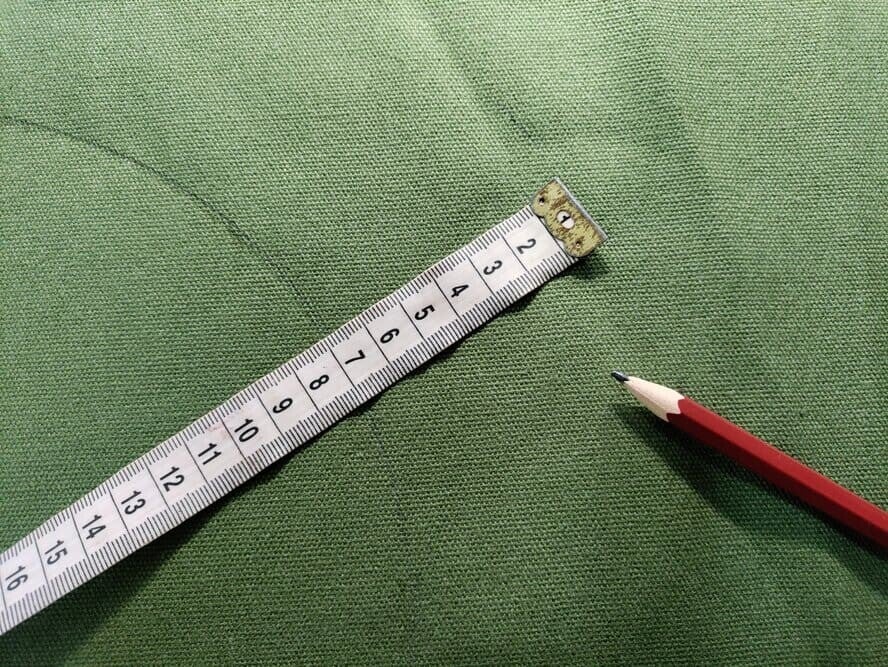
All you need is the saucepan you intend to use, a pencil, a measuring tape and some paper if you prefer to draw your pattern separately.
The size of your saucepan determines the size of your cooking bag.
Step 1: Making the bottom
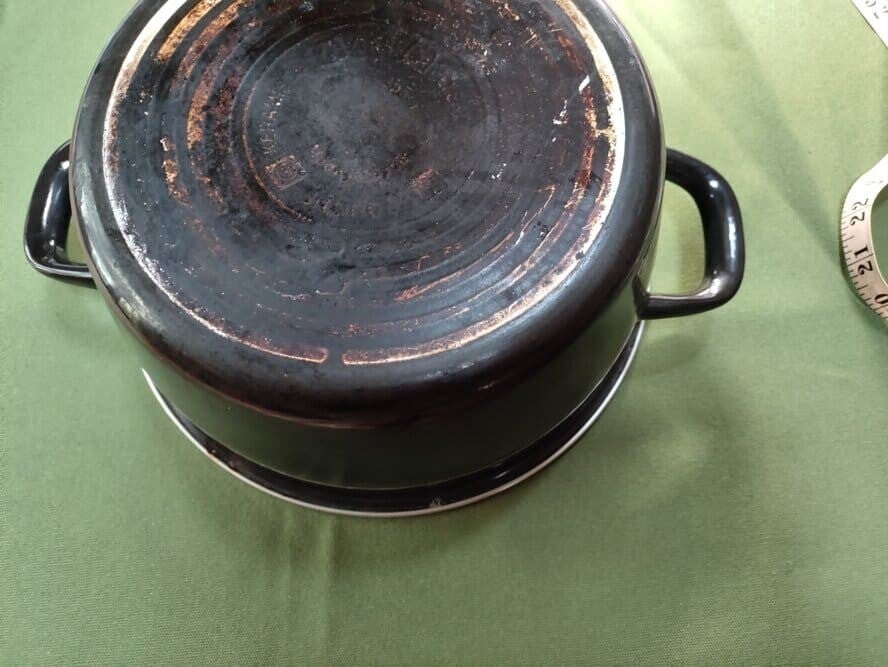
Turn your saucepan upside down and place it on the outside fabric.
Draw around the saucepan to mark the bottom.
Now draw another circle approximately 5 cm larger all around. This extra fabric will be used for the seam allowance and construction.
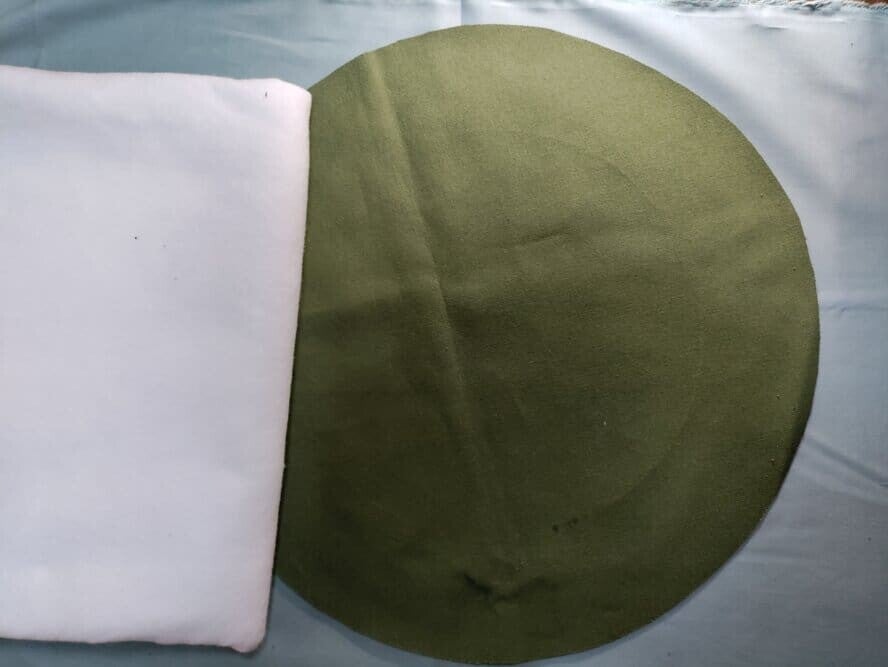
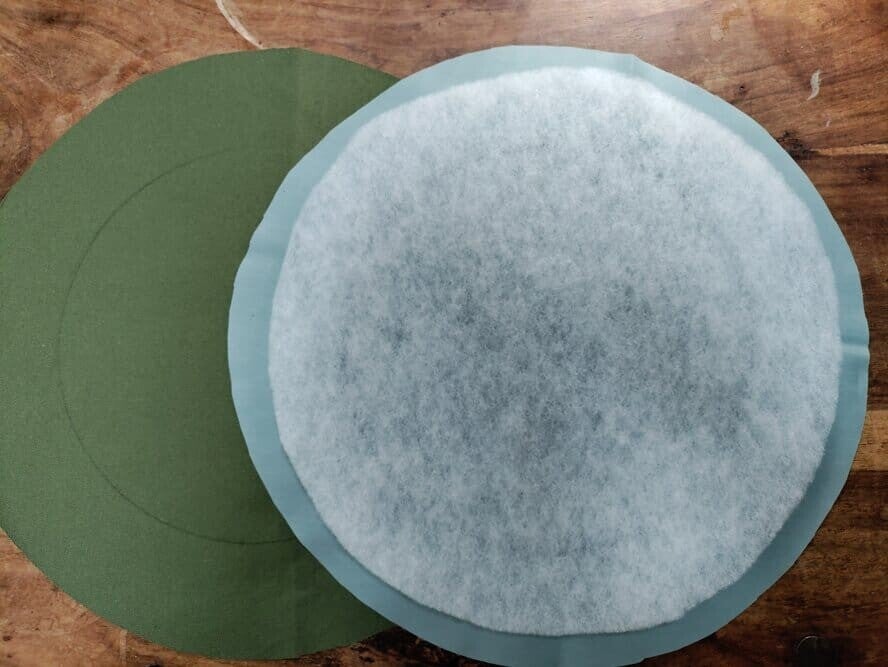
Cut out this circle from:
-
Your outer fabric
-
Your cotton lining
-
Your Thermolan batting
Cut the Thermolan approximately 1 cm smaller all around. This prevents the bottom seams from becoming unnecessarily thick.
I also added an extra layer of felt to my own bag to make the bottom a little firmer. This is entirely optional.
Step 2: Sewing the bottom
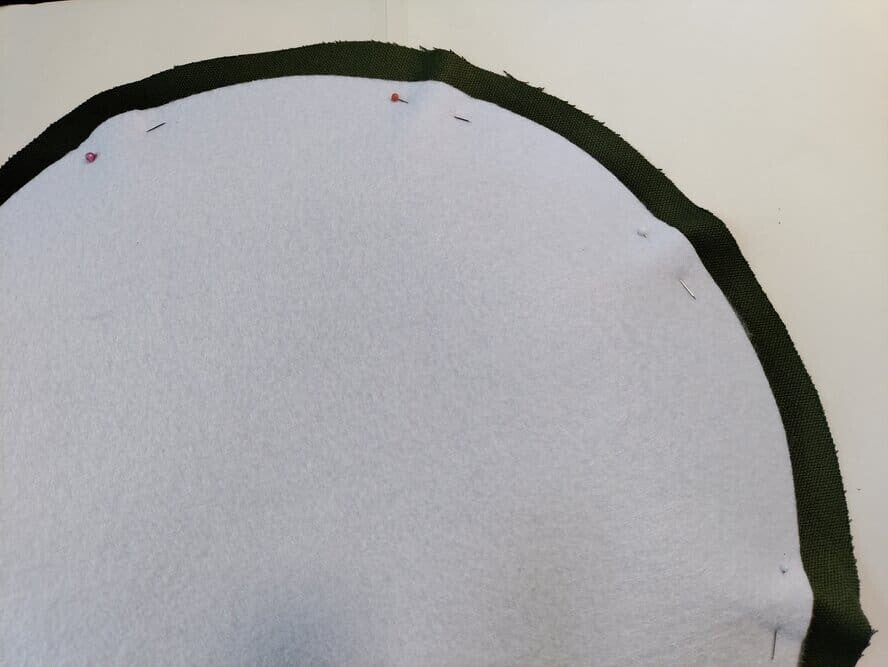
Place your fabric layers together.
If you have added felt, include this as an extra layer.
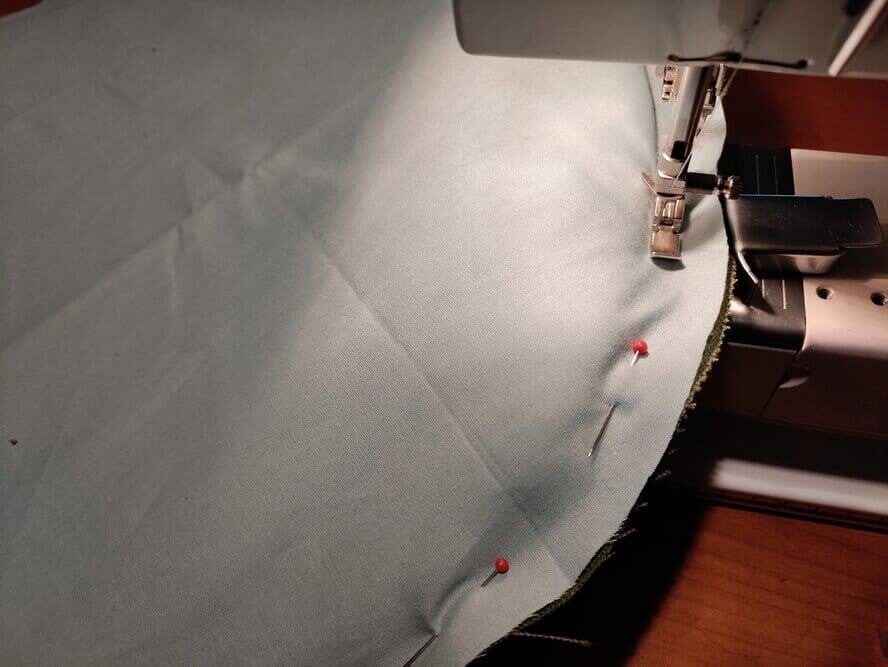
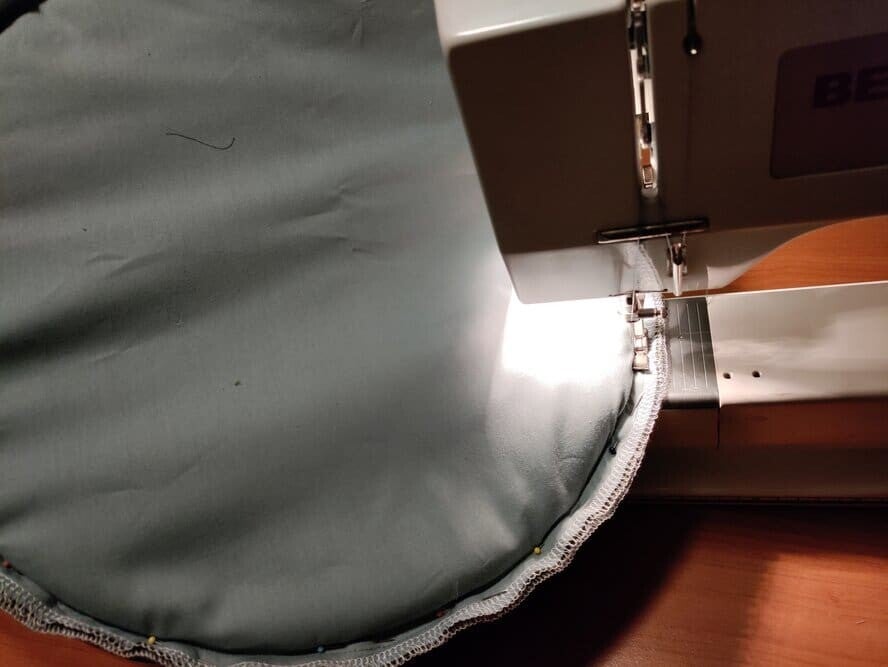
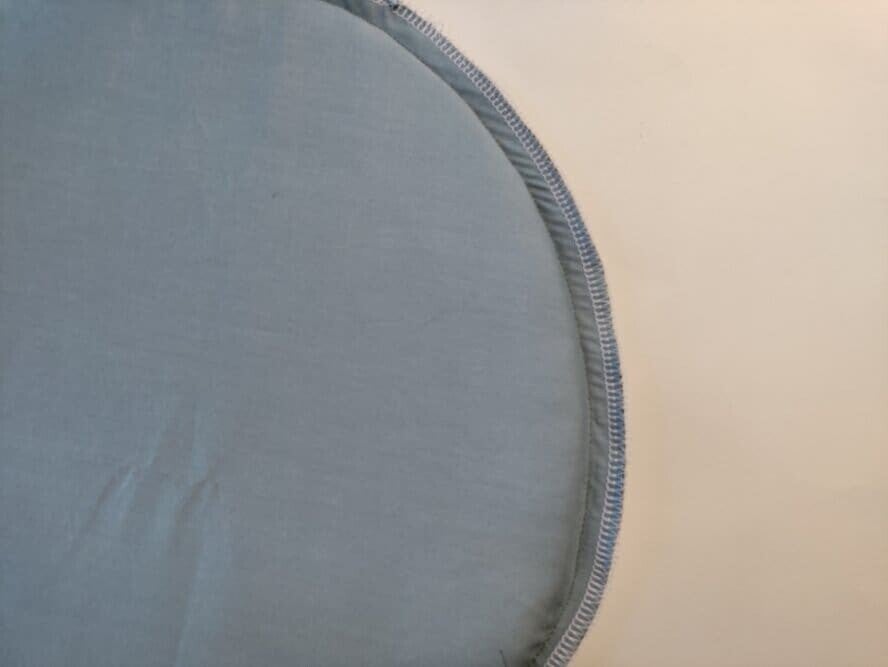
Sew around the bottom using a zipper foot. This allows you to stitch neatly along the edge of the insulating batting.
Finish the raw edges with an overlocker or a zigzag stitch.
Now the bottom is ready, and we can start making the sides of the bag.
Making the sides of the cooking bag
First, cut your fabric.
You need one long strip of canvas and one long strip of cotton lining.
The height of my bag is approximately 45 cm, but you can adjust this depending on the size of your saucepan.
Measure around the bottom circle to determine the required width of the strips. Mine was approximately 130 cm.
Cut the Thermolan as well, but make it slightly smaller:
-
2 cm shorter at both short ends.
-
1 cm narrower along the top and bottom edges.
This is important because several layers of insulating material can make the seams unnecessarily bulky.
My recommendation is to use two layers of Thermolan if you want additional insulation.
Sewing the side panels
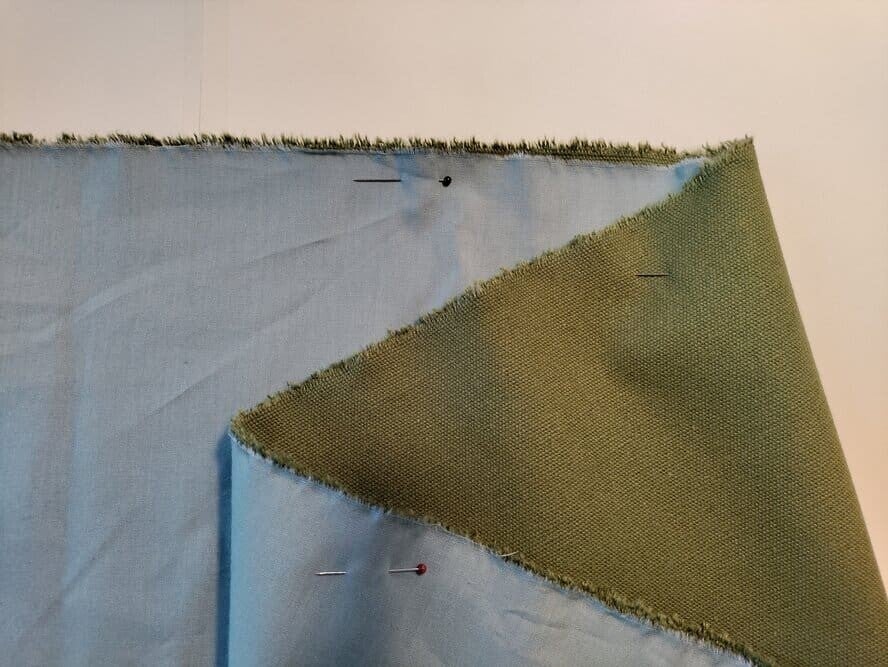
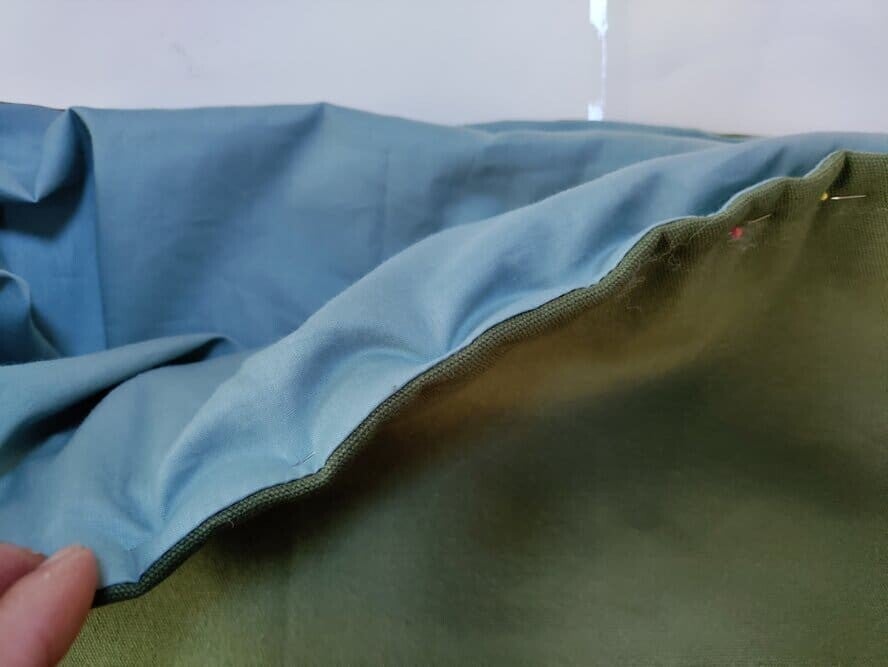
Place the canvas and cotton lining together, with their right sides facing each other.
Pin along one long edge. This will become the top edge of your cooking bag, so pay attention to the direction of any embroidery or decorative pattern.
Sew along this edge.
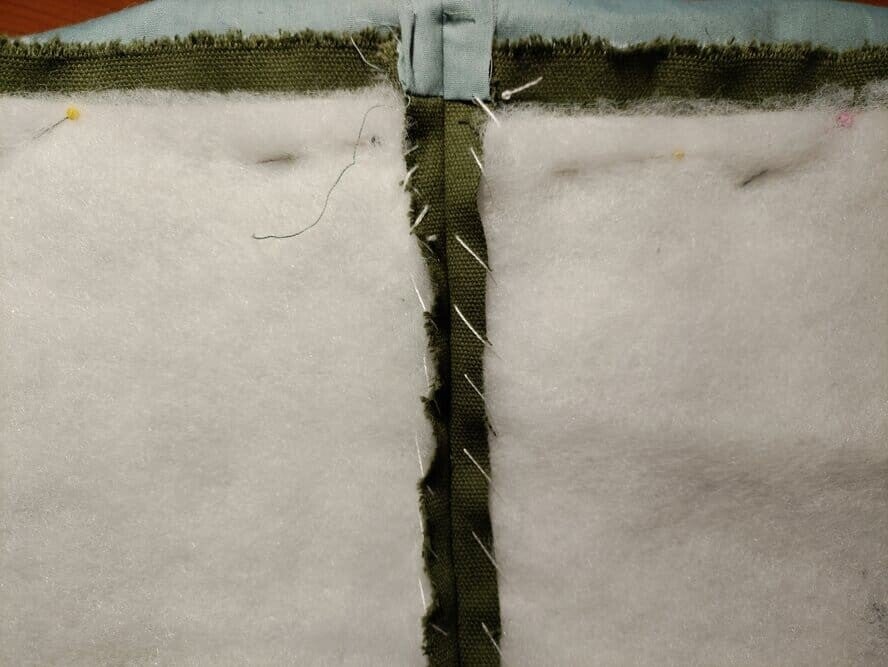
Turn the fabrics so that the right sides are facing outwards and place the Thermolan between the two fabric layers.
Now sew a neat topstitch along the upper edge, keeping the insulation in place.
Next, sew the two short ends together to form a circular tube.
Secure the Thermolan by hand along the seam if necessary.
Because the insulation was cut slightly smaller, the seam should remain reasonably flat and easy to handle.
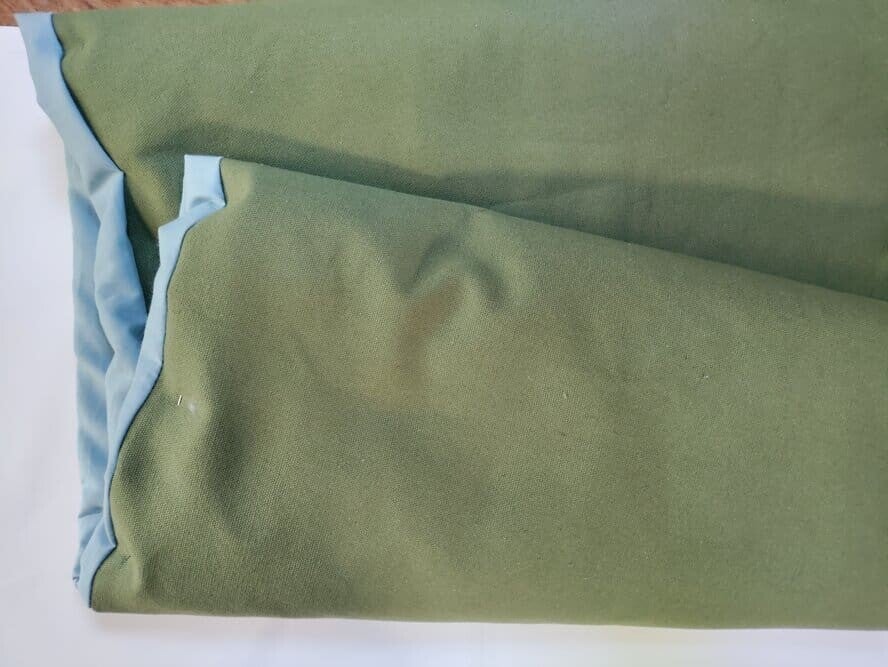
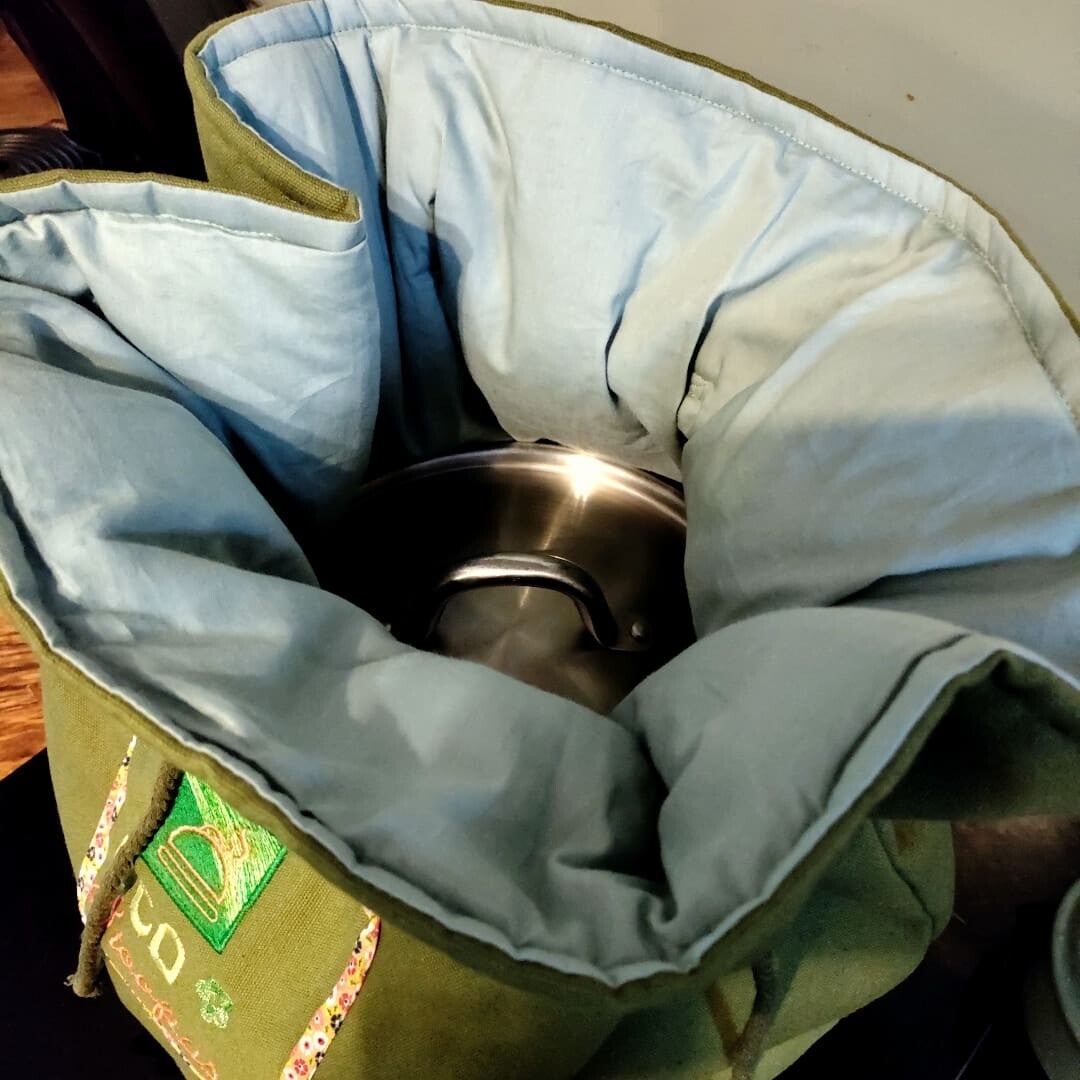
You should now have a circular piece consisting of three layers: the outer fabric, the insulation and the cotton lining.
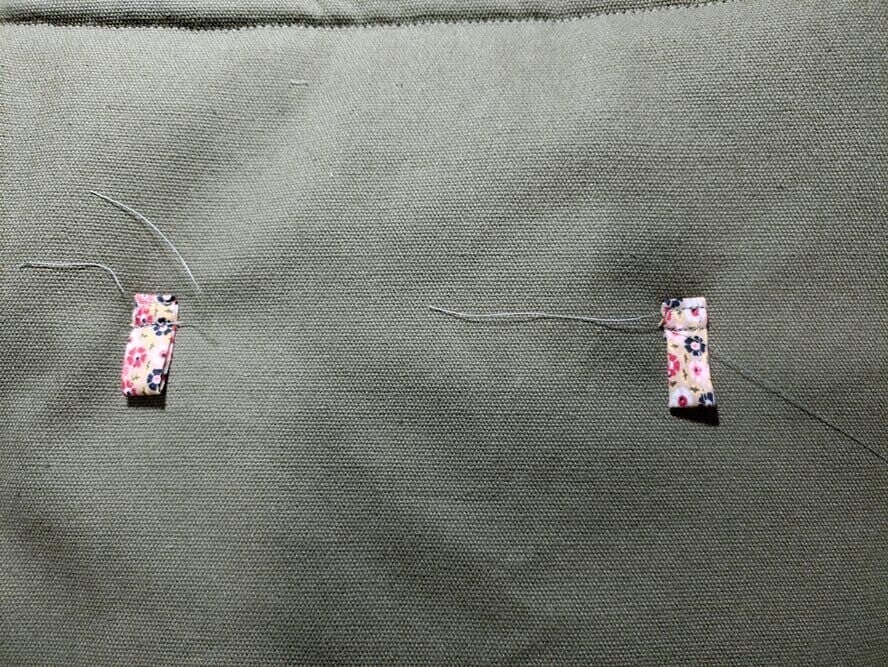
Making the loops
The loops are easy to make using bias binding.
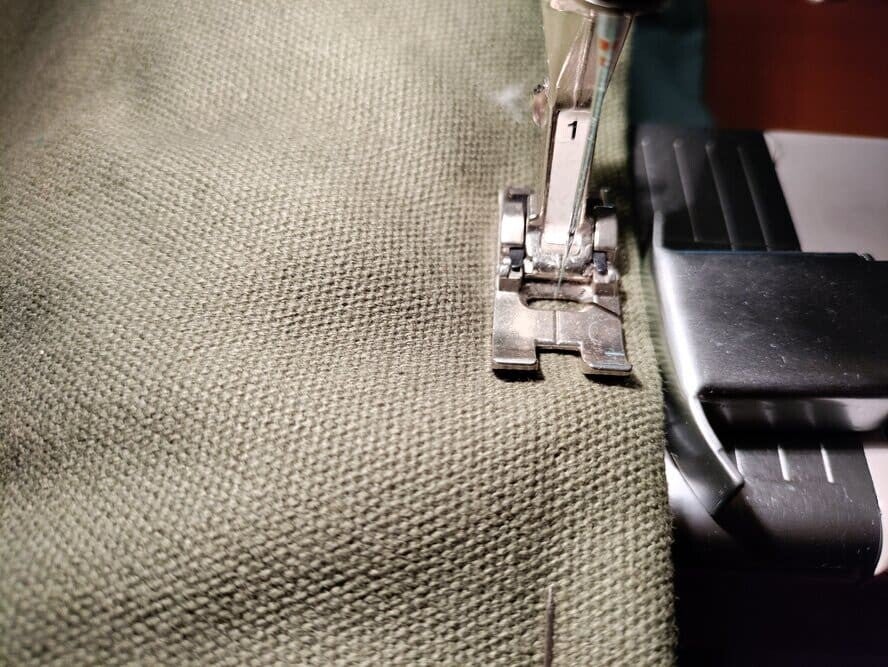
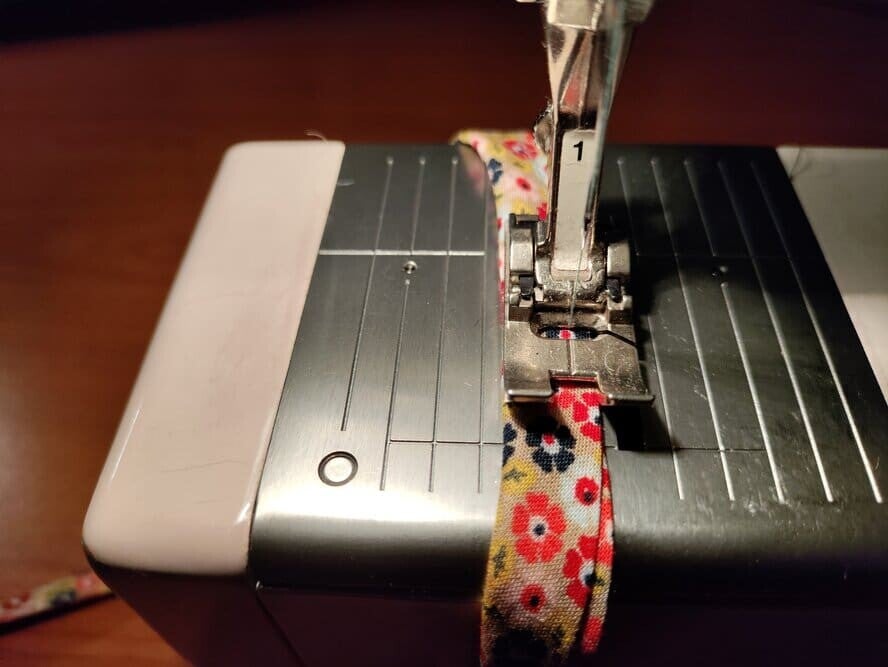
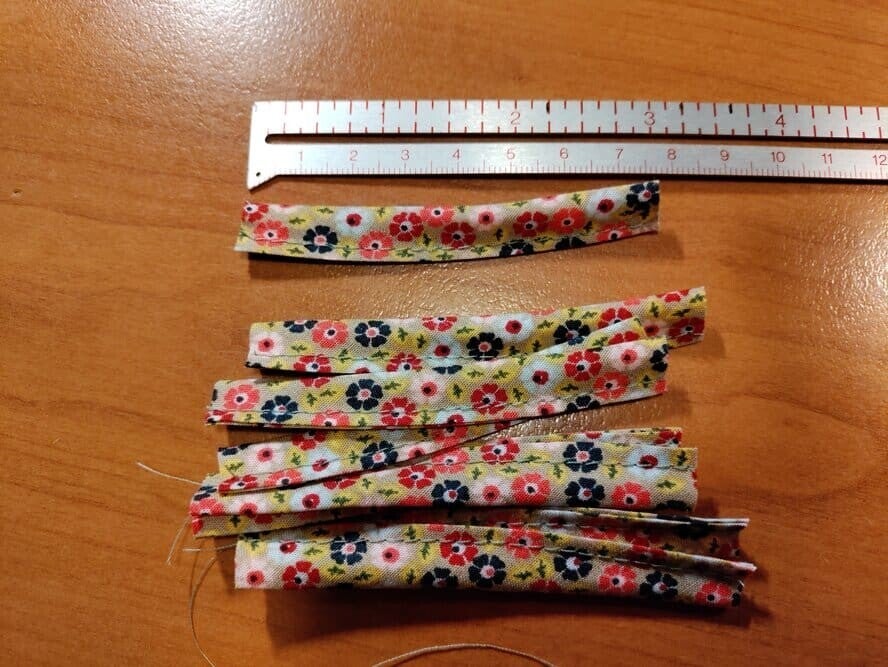
Fold the bias binding in half lengthwise and stitch it closed.
Cut it into five or six pieces, each approximately 7 cm long.
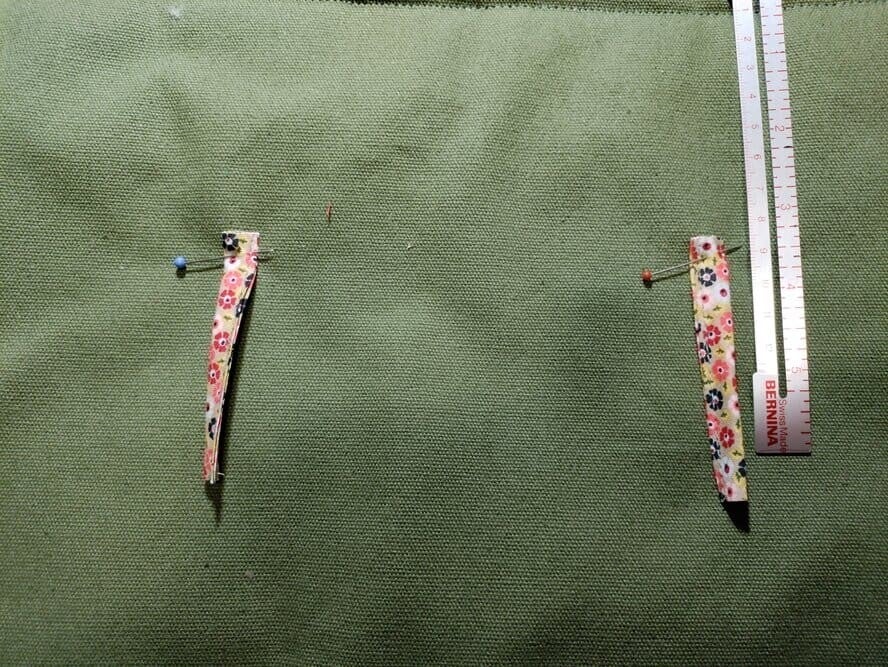
Fold each piece in half to form a small loop.
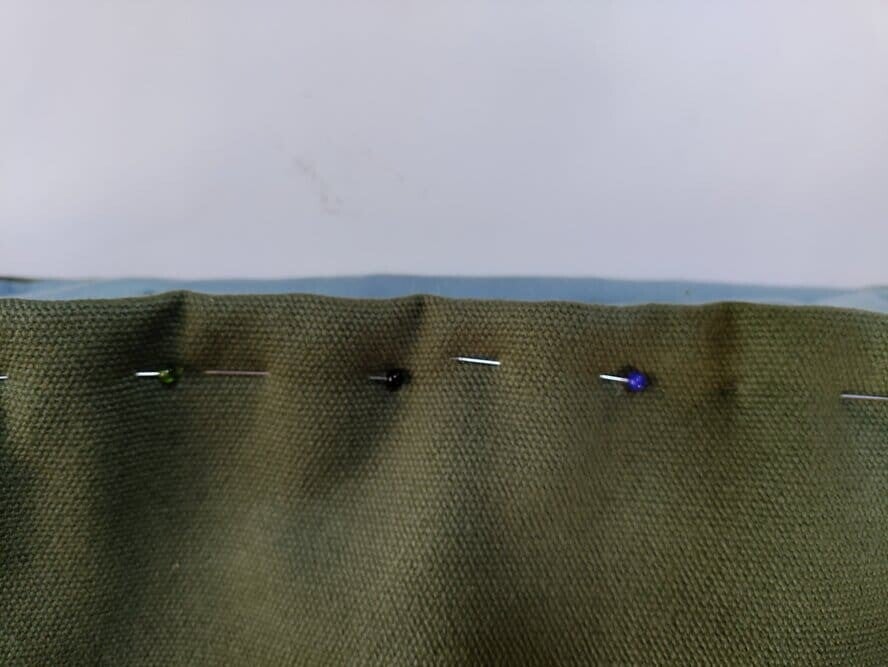
Pin the loops evenly around the top of the bag, approximately 8–9 cm below the upper edge.
Stitch them securely in place.
These loops will be used to hold the drawstring.
Adding a personal touch
Before attaching the bottom, you can still decorate your cooking bag.
Perhaps you would like to add:
-
An embroidered name.
-
A little floral motif.
-
A decorative appliqué.
-
A monogram.
You can make it as simple or as decorative as you like.
A handmade item doesn't have to be purely practical. It can also be beautiful!
Attaching the bottom
Now it is time to attach the bottom of the bag.
If you have measured everything correctly, this should be quite straightforward.
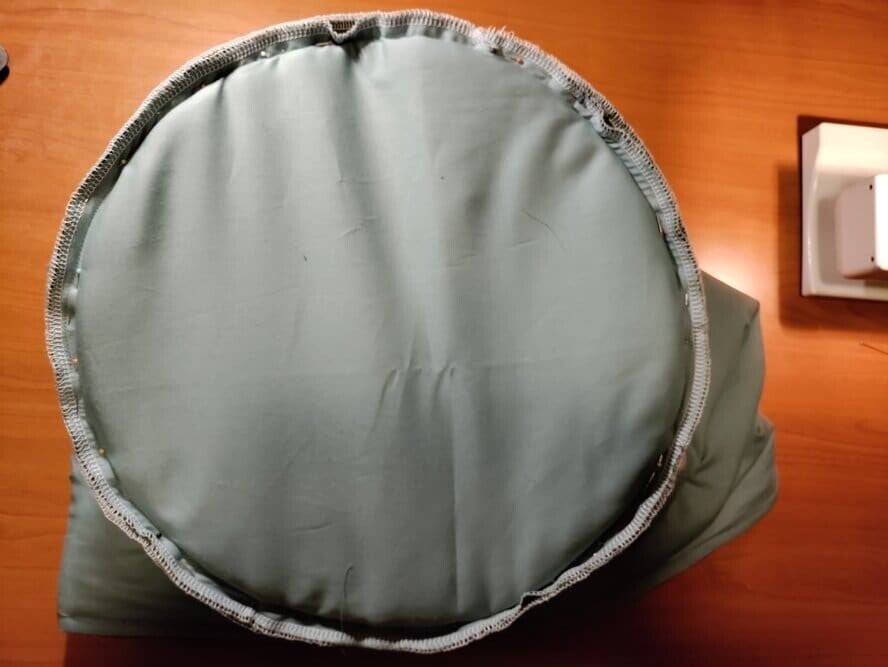
Pin the circular bottom to the lower edge of the side panel, matching the raw edges.
Sew all the way around, preferably using your zipper foot to stitch close to the edge.
Important: finish the raw edge of the bottom with an overlocker or zigzag stitch before attaching it. Once the bottom is sewn into place, it can be rather difficult to reach this area with your sewing machine.
Finishing your Eco Cooking Bag
The final step is adding the drawstring.
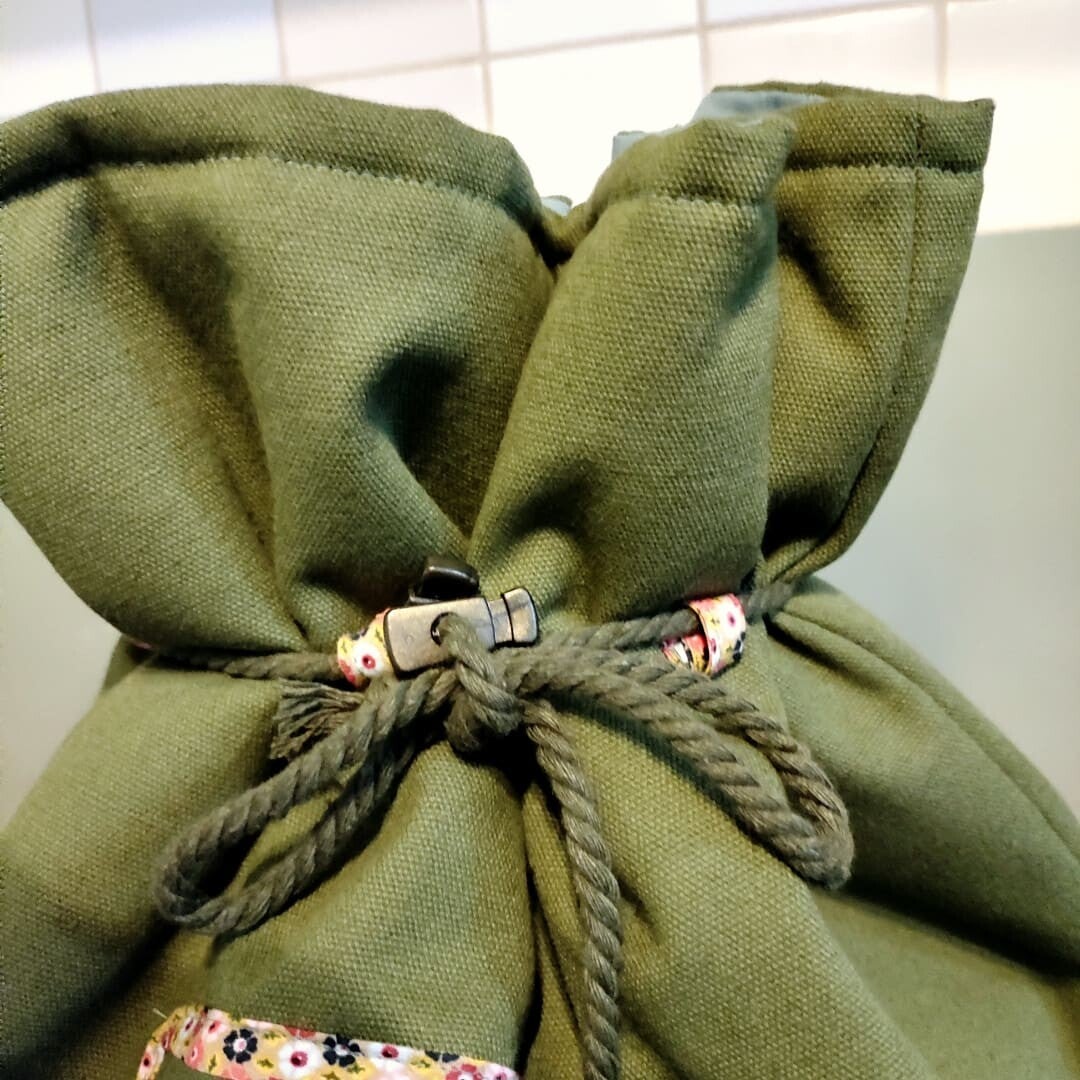
Thread the cord through the loops around the top of the bag.
Add the two cord stoppers if you wish. These make it easier to close the bag securely around your saucepan.
Remove any loose threads and give your new creation a final inspection.
And there you have it: your very own handmade thermal cooking bag!
How to use your thermal cooking bag
Using your new cooking bag is simple.
Prepare your food in a saucepan and bring it to the boil on the stove. Follow a suitable recipe and make sure the food has reached the required cooking temperature before placing the pan inside the insulated bag.
Close the saucepan with its lid and carefully place it inside the cooking bag.
Close the bag with the drawstring and leave it undisturbed.
The insulation helps retain the heat, allowing the food to continue cooking slowly without using additional energy.
Always follow a tested recipe for timing and food safety. The cooking bag retains heat; it does not heat food from cold.
This method works particularly well for dishes such as stews, soups, pulses and traditional slow-cooked meals.
And what about some lovely spiced pears? That sounds like a very good idea!
A little conclusion about sustainable living
What is the real secret of sustainable living?
It is the combination of all those little efforts we make every day to save energy, reduce waste and use what we already have.
A homemade thermal cooking bag is a wonderful example. It is practical, reusable, relatively inexpensive to make and gives you the satisfaction of creating something useful with your own hands.
Sometimes the best ideas are not new at all. They are simply traditional household wisdom, rediscovered and given a modern touch.
Happy sewing and happy slow cooking!
Add comment
Comments